Hope you are all doing well and enjoying the sunshine.
Today I have been doing something I read about somewhere on the internet (but forgot where) and
thought I'd share it with you.
So this tutorial is not mine to begin with.
But thought it is nice enough to share.
note: if this tutorial is yours, please send me an email saying it is and I will add your name to it.
The strangest thoughts can present itself to you and another mini idea is born.
For instance, I was thinking today that I really should get to ironing more often, ironing the laundry today took me forever, it seemed.
I felt a bit "rusty".
And "plop", it popped right into my head, the article I had read about making miniatures look rusty.
I forgot to make a 'before'-picture, but you can use it on whatever you want, so that does not really matter.
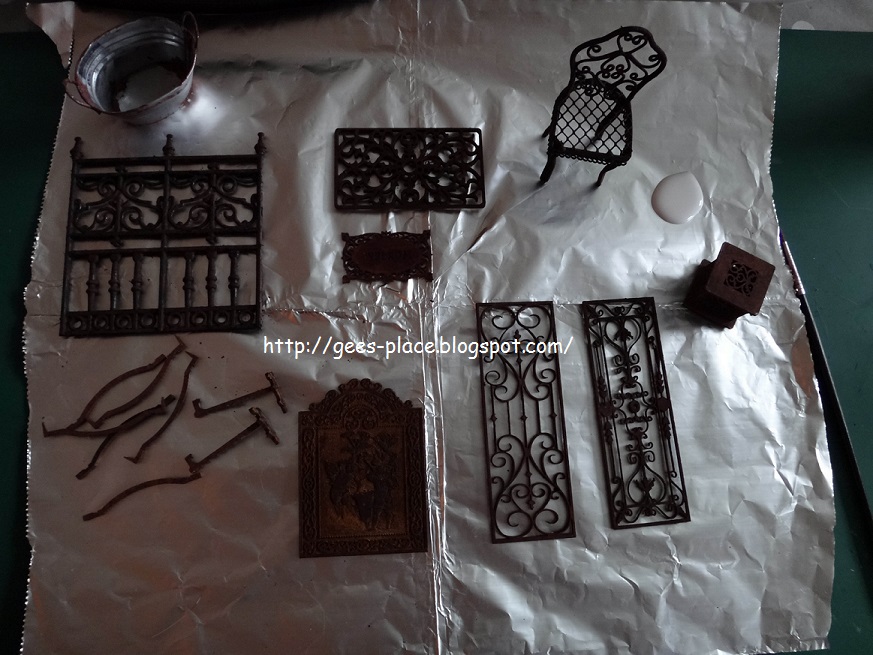
So I collected some stuff I wanted to give a rusty look: a firescreen and firegrate, a doormat, and a footwarmer I bought from Arjen Spinhoven (they are MDF I believe, lasercut), a green metal wire chair from Silly Sisters, and window grates I purchased from Artofmini.com (laser cut from MDF I believe). Also I worked on some sort of aluminium (?) thing I once picked up at some fair.And a piece of plastic fencing.
OK, here we go:
First I painted everything with Van Dijck brown acrylic paint, not too neat.
I did not mix the paint with water, or, well, maybe a tiny drop.
Oh, important: I used an old brush that can be disposed of afterwards. A size 2 so all the
little nooks are accessible.
Let dry.
After drying it looked like this:
some cinnamon in a plastic container.
The next step is to add some glue here and there, very thin, to the places you would like to see rusted.
You can look up pictures on the internet for realism.
Just use a tiny amount, don't put the glue on too thick and work FAST.
Work in small segments. Before your glue is dry dip the brush in the cinnamon and dab the cinnamon onto the pre-glued areas.
After that a soft tap on the table proved a great way to remove excess cinnamon.
Let dry thoroughly.
You can remove too much glue and cinnamon when the glue is still wet ,carefully, with a toothpick.
You will notice that your brush gets clotted with cinnamon and glue quite quick, so in between the cinnamon procedures I cleaned my brush in some luke-warm water a couple of times,
after which I dried the brush on a tissue.
When finished and dried I brushed each piece with a fan shaped brush very light to remove any loose cinnamon leftover.


I like to do easy tuts, I'm not the rocket science type :).
Hope this little tut was clear enough.
Thanks for your time.
Enjoy whatever you do and a big hug to you all,
Gee