Hello Sweeties!
Again it has been far too long since we've had a talk.
I do hope you all are fine and have managed to remain doing your business instead
of your mind wandering off thinking about what my next post will be. lol.
Well, pumpkins, no need to suffer any longer ;) for here it is!
First I have to fill you in on what happened before, so here we go:
one of my very early memories of winter eve's is the sound of my Mom's knitting needles
going on high speed to knit one of us kids a warm sweater.
Knitterdeknitknitterdeknitterdeknitterknit... that sound went on and on and on.
She knitted on very small steel needles in an olympic tempo.
Moms could way back then.
While she knitted she'd watch some show or the news on television and could have a
conversation about anything.
I have also knitted some sweaters, when I was at the age of uhm... let's say that was years and years later; no need to harm your little souls with numbers ;))
Anyway, I knit on needles size 10 with big chunky yarns
and the sound of my knitting goes something like knit....wait for it.....knit....wait some more
...knit....darn I've dropped a stitch.
I can't even have a two-word talk when knitting, let alone watch the news.
But I've always
wanted to be a fast knitter and preferably keeping all the stitches up, too.
Also I've always loved the look of lace knitting.
The only thing being... what to knit and could I pull it off??
I'm not actually going to wear anything like that, so when the mini hobby came along
this was an opportunity not to neglect.
I decided it had to be a bedspread or something like that and the patterns had to be 18th century-ish at least. Because I never did laceknitting before, the first thing to do was knitting a real life sized bedspread on needles size 10, to practice and so I did.
The finished thing measures 3 metres by approx. 3 metres and then I felt ready for smaller needles.
Had to start over 4 or 5 times but I did make a baby blanket as well as a bedspread.
Of course I was not able to refind the picture I've made of the lifesize thing, but I"ll
show you the minis.
For the bedspread and the babyblanket I've used real 18th century patterns.
While I am fully aware of the fact that there are people who arrange and style what they
make picture-perfect, there is no danger of encountering that kind of behaviour on this
blog, I know you can see beyond blurry pics and not so neatly dressed stuff, so here it is:
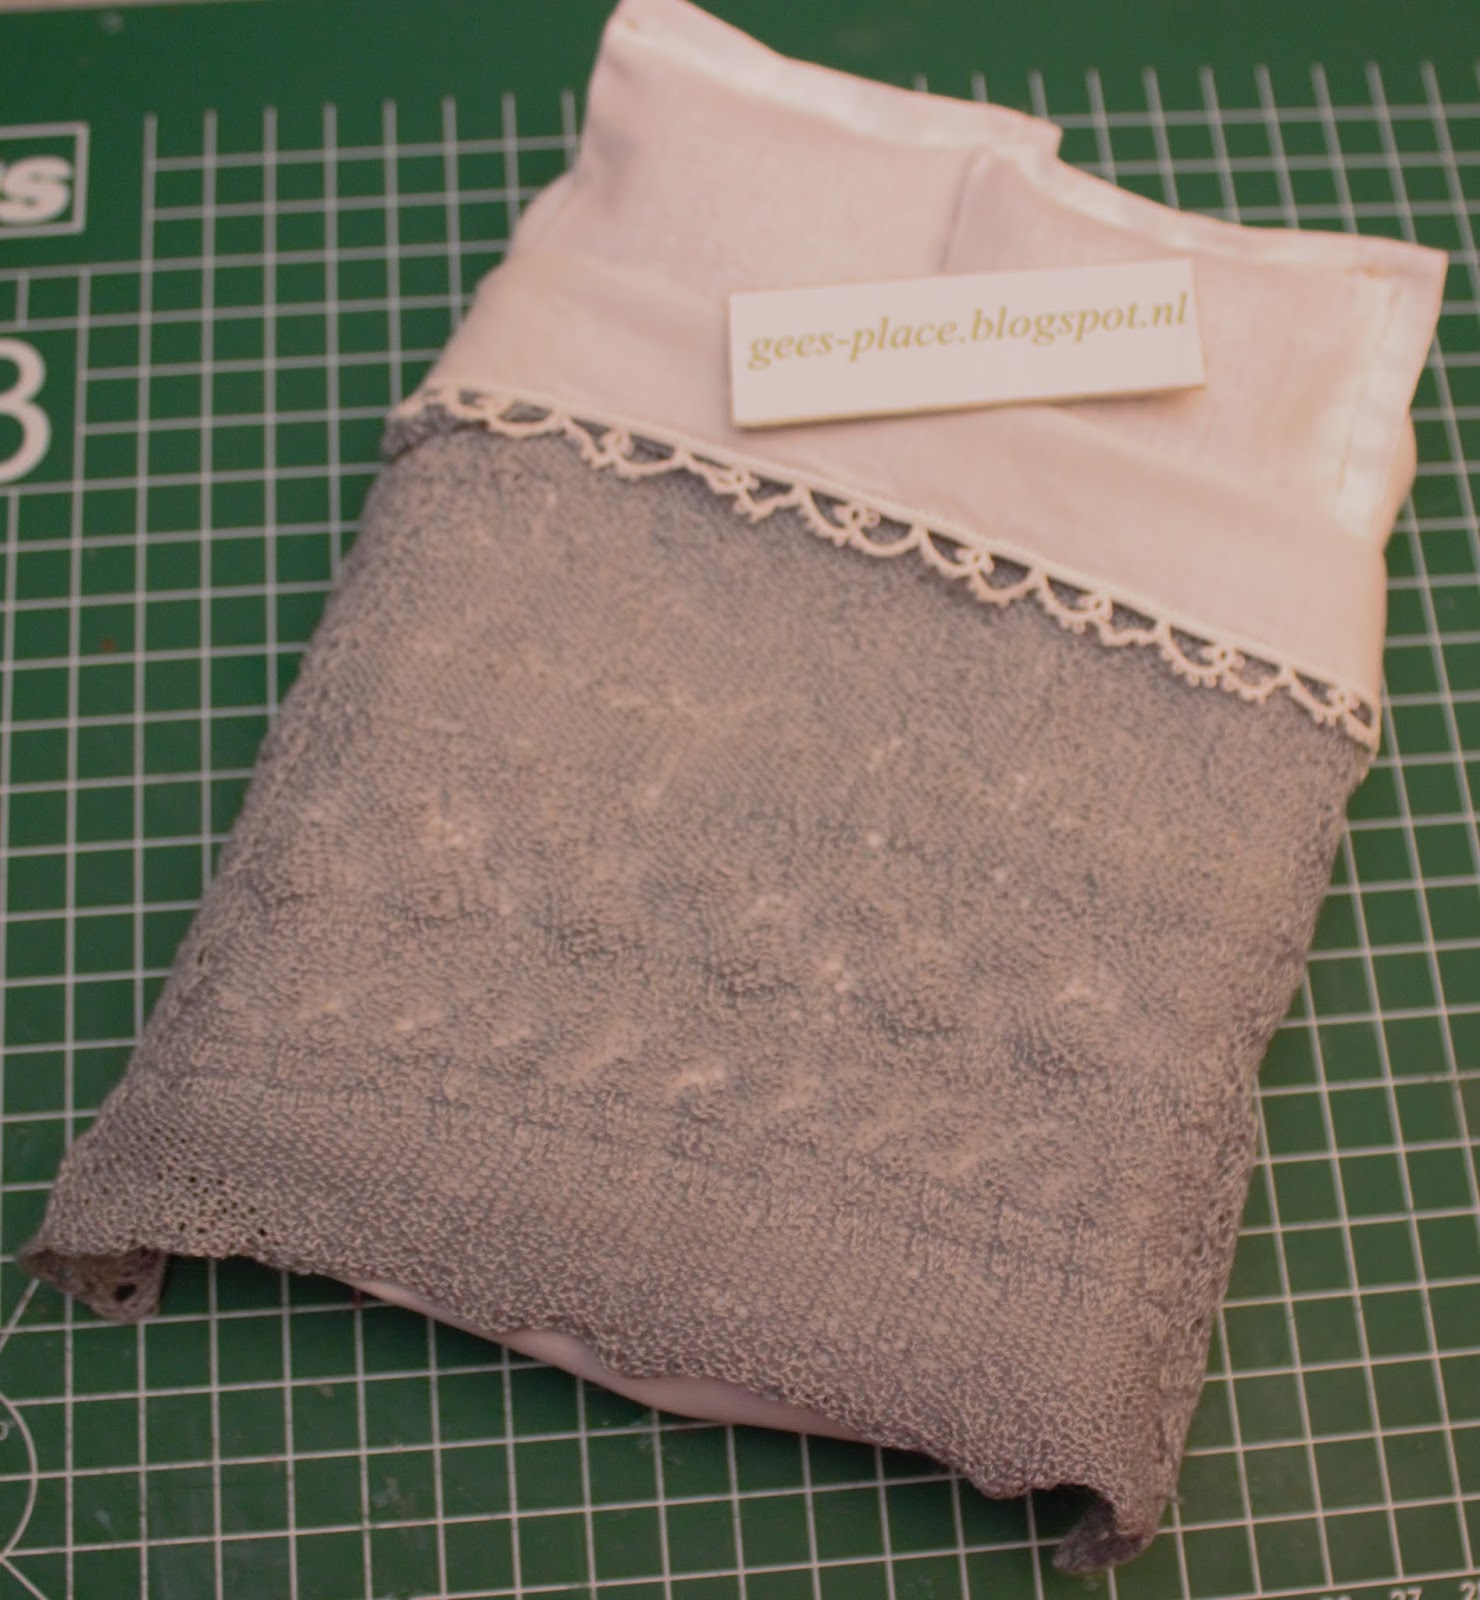
I use this handkerchief as a bedsheet, it belonged to my grandmother.
I noticed the edging and the corner were done by tatting.
The tatting work is so fine I could not get it clear on the picture.
My grandmother made this edging more than a hundred years ago; maybe the
handkerchief was her mothers'and she got hold of it the way I did.
Although the handkerchief yellowed a bit over time, I'm not going to use any bleech on it.
Another family item to go in the minihouse.
Let's see, what's next... here's a picture of the babyblanket:
and pictures of the bedspread:
on the mattrass:
and finally on the bed. the picture is blurry but you get the idea.
I have very much enjoyed reading your blogs, please keep the posts coming.
It is a bit early but I do hope you will all have a lovely Christmas!
Big hugs and take care,
Gee